


For makeup enthusiasts, an LED makeup mirror is an essential tool. It provides clear light and sharp reflections, allowing you to perfectly apply foundation, eyeliner, and lipstick every time. However, after a few weeks of use, the mirror may accumulate dust, makeup residue, or fingerprints. These stains not only make the mirror look dirty but also affect its performance.
Many people forget to clean their LED makeup mirror with lights regularly or use incorrect cleaning methods, leading to damage to the mirror or the light bulbs. In this blog post, we’ll teach you step-by-step how to clean your LED makeup mirror. We’ll also explain the importance of regular cleaning, share cleaning tips for different types of mirrors, and answer common questions you may have. After reading this article, you’ll learn how to keep your mirror clean, bright, and in good condition for a long time.
You might think that cleaning is just for aesthetics. But regular cleaning actually has many practical benefits. Let’s look at three of the main reasons.
The LED lights on a makeup mirror are designed to provide you with even, bright light for convenient makeup application. When dust, powdery makeup, or oil accumulates on the mirror or LED bulb, light cannot pass through smoothly, resulting in dim or uneven lighting, which affects the makeup’s effectiveness. Regular cleaning keeps the mirror and bulb clean, allowing the light to diffuse evenly and helping you achieve a more accurate reflection. Even the best LED makeup mirrors will not perform at their best if they are stained with dirt.
This is also something experienced manufacturers pay close attention to during product development — LED placement, diffuser panel materials, and bezel design all directly affect how long a mirror maintains its lighting performance in real-world use.
Your LED makeup mirror comes into close contact with your face every day. When used, oil, sweat, and makeup residue transfer from your face to the mirror. Over time, bacteria and microorganisms thrive on these residues. When you use the mirror again, these bacteria can transfer back to your skin, potentially causing acne, redness, or irritation — especially if you have sensitive skin. Regular cleaning removes these residues and kills bacteria, keeping the mirror hygienic and protecting your skin.
LED makeup mirrors are a meaningful investment, so you’ll want them to last as long as possible. Over time, dust and residue can damage various parts of the mirror. Makeup residue or water stains can seep into the LED bulbs or the mirror’s electronic components, causing them to malfunction. Dust can also scratch the mirror surface, making it blurry. Regular cleaning can prevent these problems and extend the mirror’s lifespan, saving you from frequent replacements.
For retailers, distributors, and private label brands sourcing LED makeup mirrors, product longevity is a key selling point — and one that reflects directly on the manufacturer’s build quality and quality control standards.
Now let’s get started. Please follow the steps below and do not skip any.
Safety first. Before cleaning the LED lighting makeup mirror, turn off the power. If the mirror is plugged into an outlet, unplug it. If it is a rechargeable mirror, turn off the power and remove the batteries if possible. This will prevent electric shock and protect the electronic components from water damage. Next, clear the area around the mirror — remove cosmetics, brushes, or other items from the base or stand to give yourself enough space to clean every part thoroughly.
First, wipe with a dry cloth to remove loose dust, dirt, and cosmetic powder. Take a clean microfiber cloth and gently wipe the mirror, LED bulbs, frame, and base. Do not rub too hard — just wipe gently. For hard-to-reach areas such as the gaps between LED bulbs, use a dry cotton swab.
Pour warm water into a small bowl and add a drop of mild dish soap. Stir gently to make soapy water. Soak a microfiber cloth in the solution and wring it out. Then, gently wipe the mirror in a circular motion from top to bottom to avoid leaving streaks. For stubborn stains, press the damp cloth onto the stain for a few seconds to soften it before wiping. After wiping the entire mirror, finish with a clean, slightly damp cloth to remove any remaining soapy water.
LED bulbs and their frames are easily overlooked, but they also need cleaning. Dust and makeup residue can accumulate, causing the light to dim. Take a cotton swab, dip it in soapy water, and gently wipe each LED bulb individually. Then use the same cotton swab or microfiber cloth to wipe the frame. Make sure water doesn’t get into the gaps between the bulb and the frame. For stubborn residue, gently remove it with a dry cotton swab.
The base and stand of an LED makeup mirror are prone to accumulating grease and dust. Wipe them with a slightly damp microfiber cloth. For stubborn stains, apply a small amount of dish soap to the cloth and wipe again. Use cotton swabs for crevices or small corners. If the mirror base has a storage compartment, open it and clean the inside as well.
After cleaning all parts of the mirror, gently wipe the mirror, LED bulbs, frame, base, and stand with a clean, dry towel. Ensure each part is completely dry — any residual moisture can leave water stains or seep into the electronic components. Perform a final inspection: check the mirror for streaks, check the LED bulbs are clean, and check the base and stand for any remaining dirt.
If you removed the batteries, reinstall them. If the mirror requires a power outlet, plug it back in. Turn on the light and ensure it is working properly. To make your mirror even shinier, use a dry cloth to buff the mirror surface in a circular motion. Your LED makeup mirror with lights is now clean and ready to use!

Not all mirrors are created equal. Here are some practical tips for different designs.
Desktop LED Makeup Mirror: The most common type. Easy to clean, but pay attention to the base material. Fabric or leather bases should be wiped with a dry cloth only; plastic or metal bases can be cleaned with soapy water as usual.
Wall-Mounted LED Makeup Mirror: Make sure the mirror is securely mounted before cleaning. Do not pull or press hard. Clean the mirror and frame with a slightly damp cloth and dry immediately to prevent water from running down the wall.
Portable LED Makeup Mirror: Small and convenient. In most cases, a dry microfiber cloth is sufficient. If it gets dirty, wipe with a slightly damp cloth and dry immediately.
LED Makeup Mirror with Magnification: More prone to scratches. Always use a soft microfiber cloth and avoid vigorous scrubbing. Dry thoroughly after wiping to avoid watermarks.
These design differences are also relevant for wholesale buyers and OEM/ODM partners evaluating which LED makeup mirror SKUs to include in their product lines — different form factors suit different retail channels and end-user demographics.
Even careful users make mistakes. Here are the most common ones and their solutions.
Mistake 1: Using paper towels or rough cloths. These leave tiny scratches on the mirror surface, making it blurry over time. Solution: Always use a soft microfiber cloth.
Mistake 2: Spraying cleaning agent directly onto the mirror. Liquid may seep behind the glass, causing the LED lights to short-circuit. Solution: Spray the cleaning agent onto the cloth, not the mirror.
Mistake 3: Using too much water. Water can cause the base to rust or damage the switch. Solution: Wring out the cloth, leaving it only slightly damp.
Mistake 4: Forgetting to unplug the mirror. This poses a safety hazard and could result in electric shock. Solution: Always unplug the mirror before cleaning — make this a habit.
Mistake 5: Cleaning too frequently or too vigorously. Over-cleaning can damage the coating. Solution: Clean every two weeks, using gentle movements.
Cleaning is important, but prevention is key. Here are some ways to keep your mirror clean for longer:
Cleaning your LED makeup mirror only takes minutes yet brings great rewards — it maintains even, bright light, guards your skin health, and extends the device’s service life. Follow the easy cleaning steps, choose mild cleaning supplies, and dry every part fully. All tips apply to tabletop, wall-mounted, and portable LED makeup mirrors with lights.
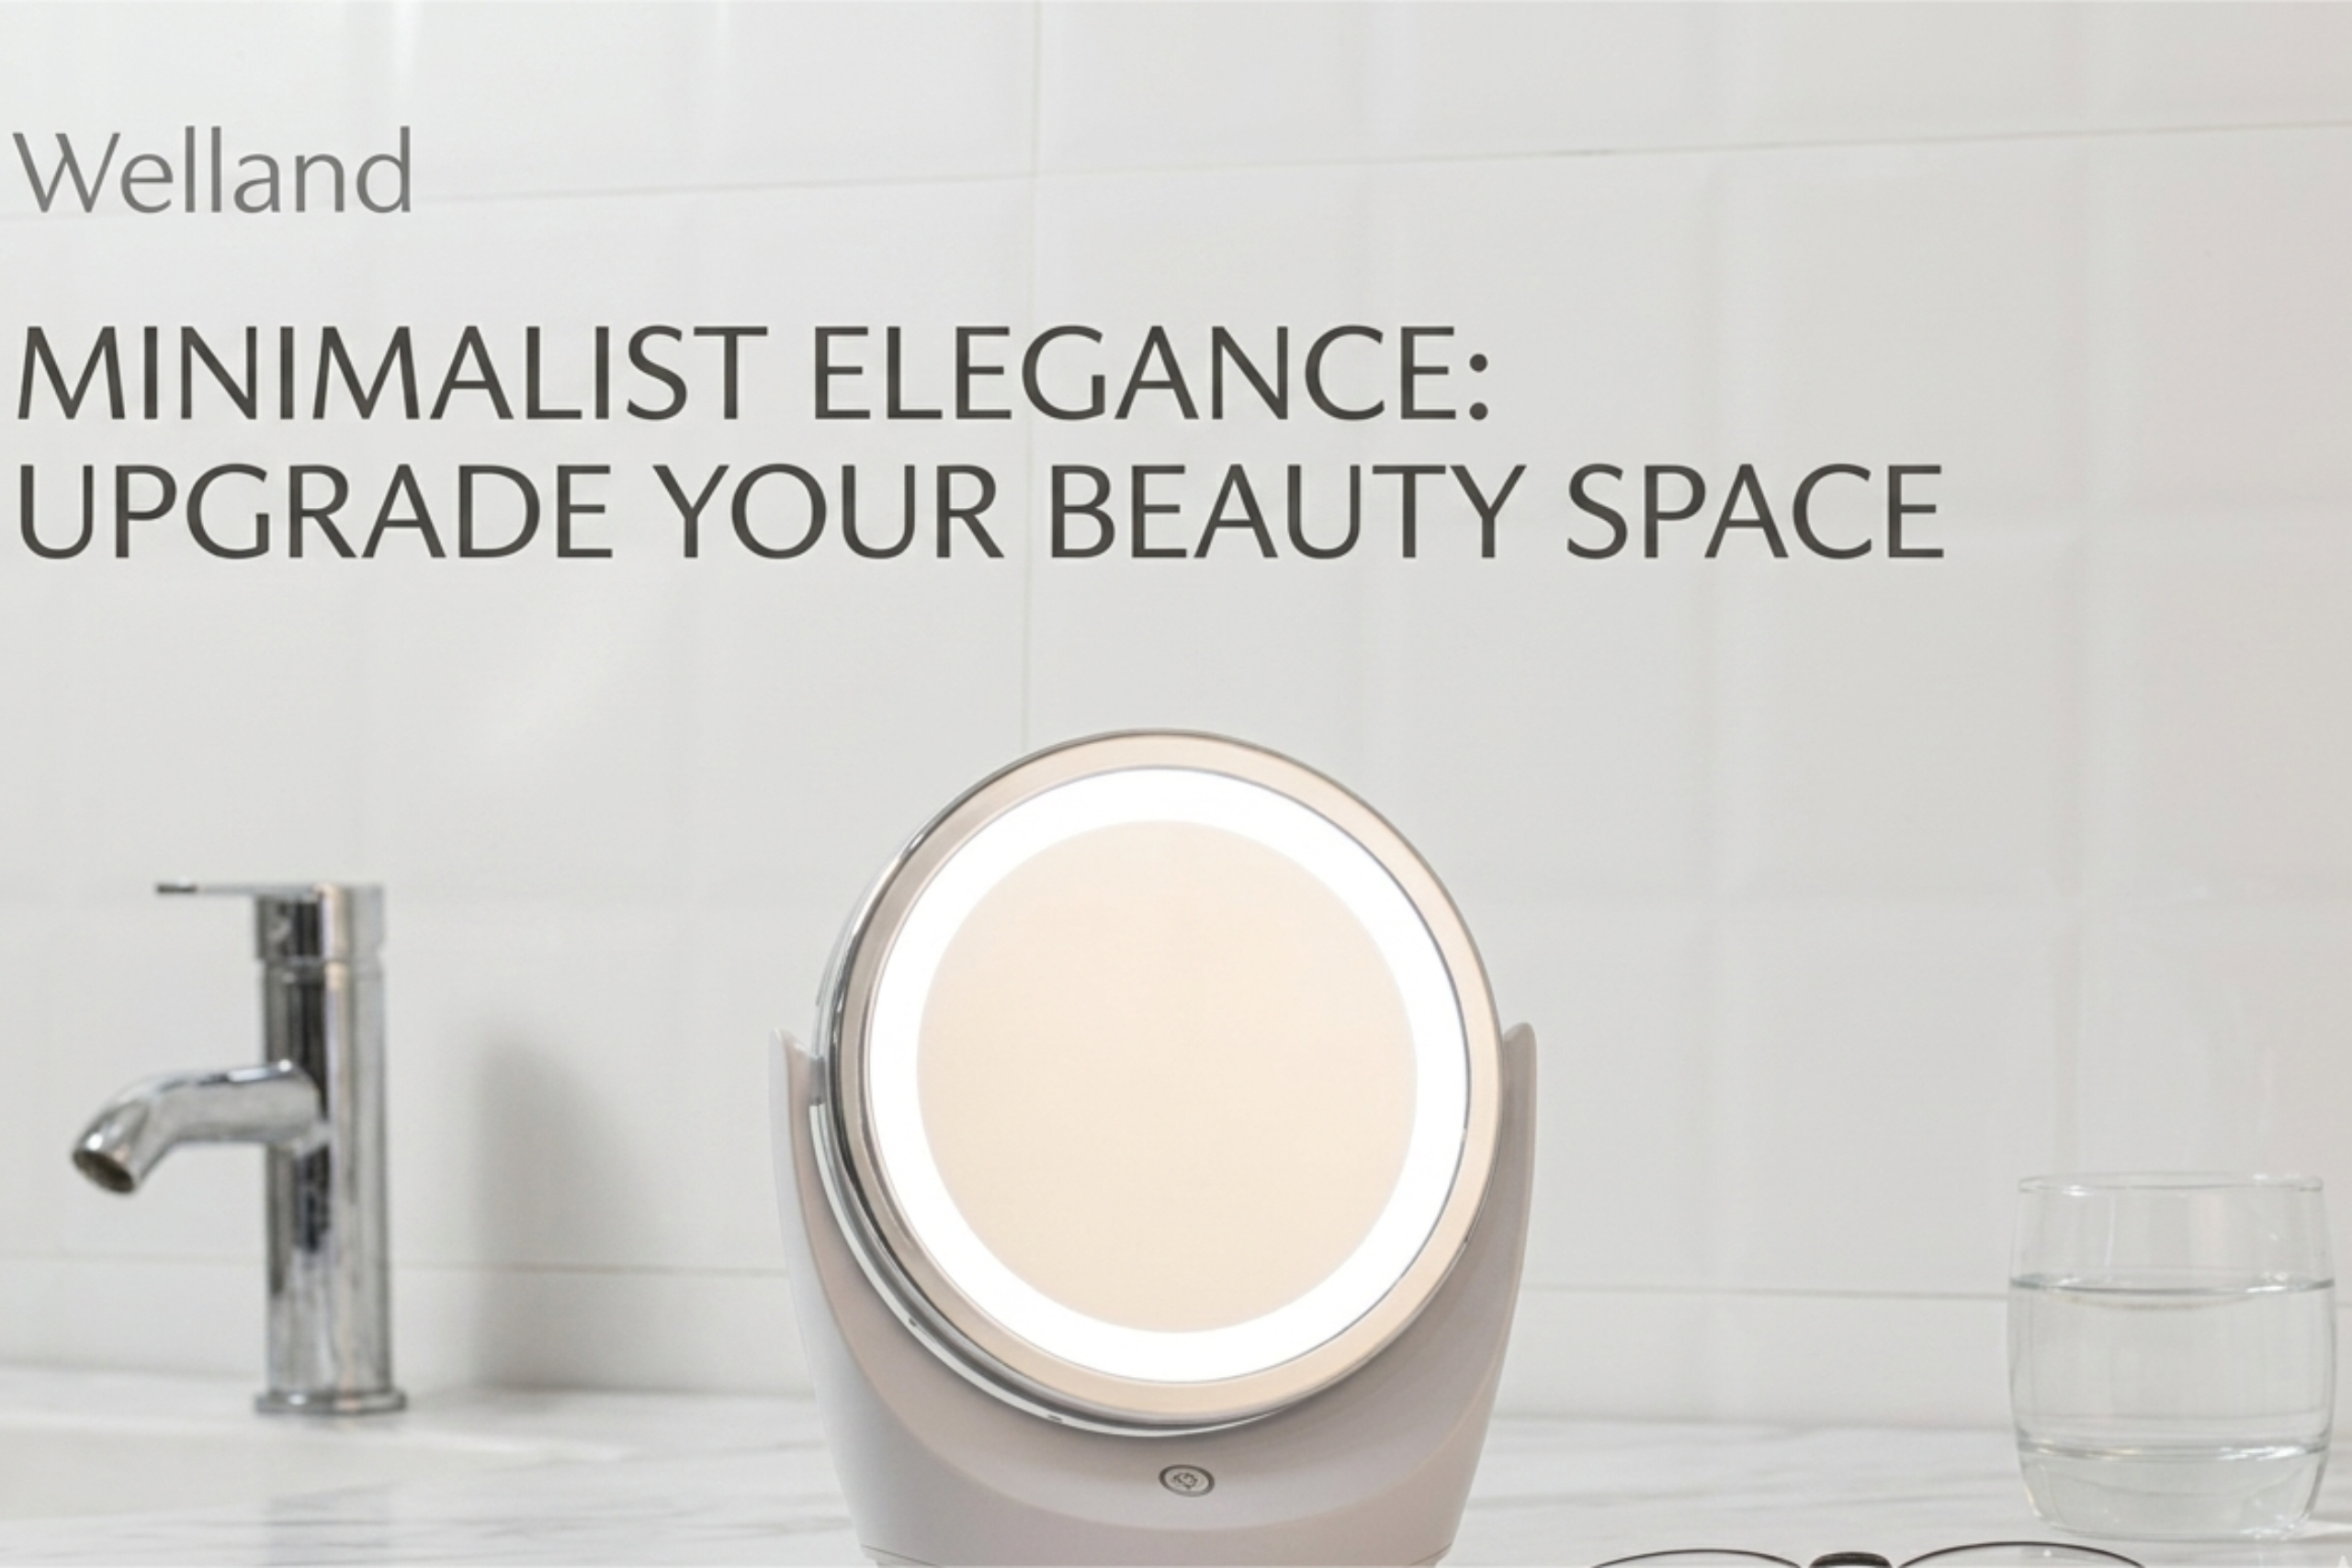
If you pursue durable and high-quality daily beauty tools, WELLAND LED makeup mirror stands out as a wonderful choice. Proper daily care will keep your mirror in perfect condition for years. For brands, retailers, and OEM/ODM partners looking to source reliable LED makeup mirrors at scale, WELLAND supports private label manufacturing, custom branding, and bulk orders with flexible MOQ — backed by consistent build quality your customers can count on.
Q1: How often should I clean my LED makeup mirror?
It’s recommended to clean it every two weeks. If you use it daily, a quick dry wipe each day can also help.
Q2: Can I clean the mirror with glass cleaner?
No. Glass cleaners usually contain ammonia, which can damage the mirror’s back panel and LED coating. Please use water and mild alcohol instead.
Q3: What should I do if water gets inside the mirror?
Immediately turn off the power and unplug the cord or remove the batteries. Let it air dry upside down for 24 hours. Do not turn it on until it is completely dry.
Q4: Can I clean the mirror while it’s on?
No. Always turn off the power and unplug it first. Cleaning while the mirror is on poses a safety hazard.
Q5: Will cleaning help with dark spots on my mirror?
Yes. Dust on the bulb or frame can cause dark spots. Clean carefully. If the dark spots persist, the bulb may be faulty.
Q6: Is alcohol safe for plastic parts?
70% isopropyl alcohol is safe for most plastics. Do not use higher concentrations. Test on a small, inconspicuous area first.
Q7: How long can my LED makeup mirror last if I clean it regularly?
Most LED makeup mirrors can last 3–5 years or even longer with regular cleaning and maintenance. Some high-end models may last even longer if properly cared for.
Q8: Why are there streaks on my mirror after cleaning?
You may have used too much cleaning solution, or your cloth may be dirty. Wipe away the streaks with a dry, clean microfiber cloth.
Q9: Can I use baby wipes to clean a mirror?
Baby wipes contain oils and lotions that leave residue, which attracts more dust. Please clean with water and alcohol instead.
Q10: How do I clean the back of a wall-mounted mirror?
Use a long-handled dry duster or a vacuum cleaner with a brush head. Do not use liquids on the back — they may seep into the electronic components inside the mirror.